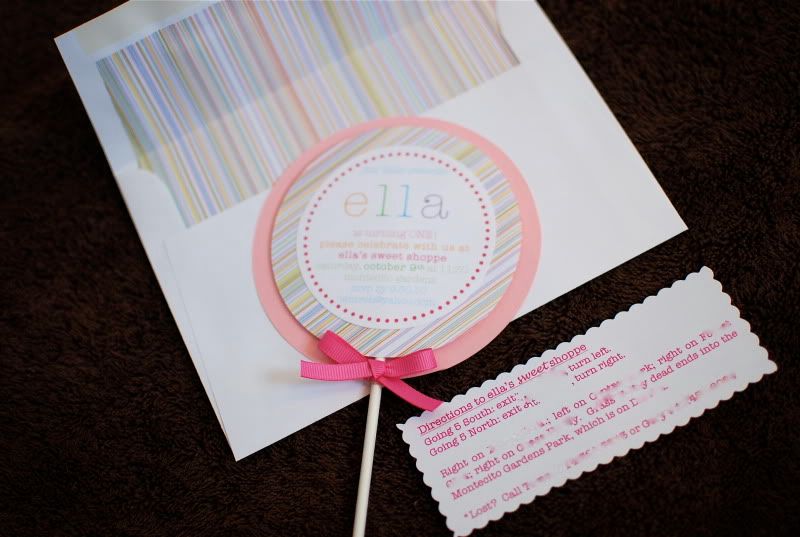
I lined the envelopes and included scalloped edged directions...


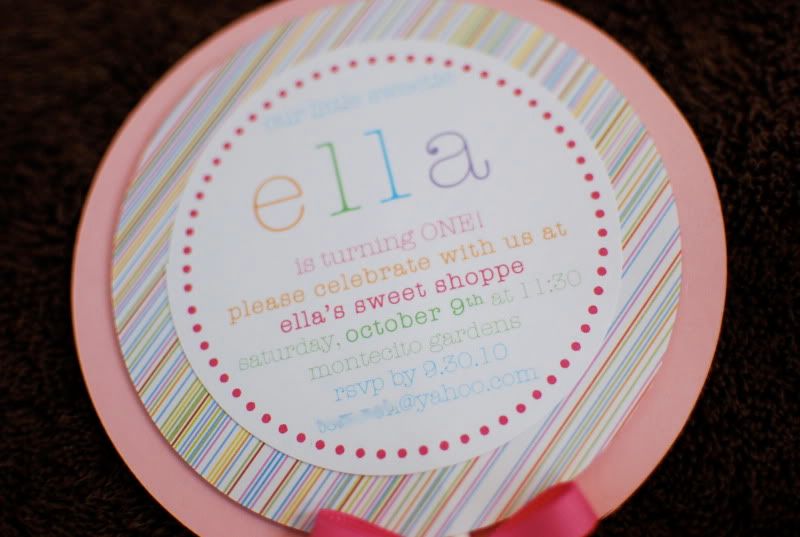
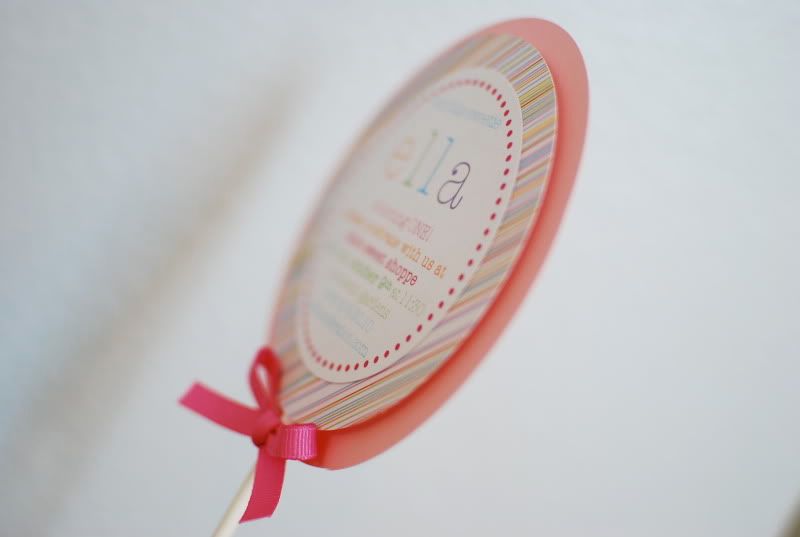
The stick is in between card stock so it has a 3-D effect...

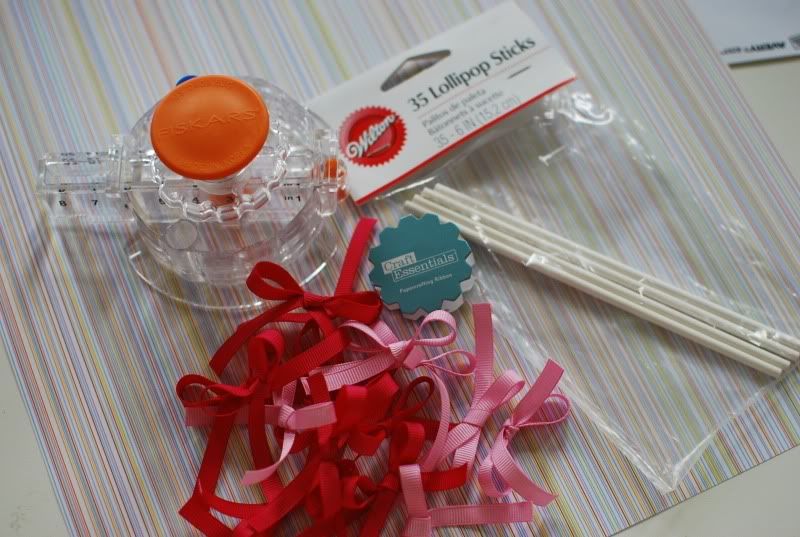
In case anyone is interested, here are the supplies I used:

The pink backing is just any kind of card stock or heavy paper. The multi-colored striped backing is scrapbook paper. I printed the wording onto plain white card stock. I cut all the circles using the Fiskars circle cutter, which cuts circles from 1" to 8"! I taped the wording part to the striped part then used the glue gun to attach that part and the pink backing to a lollipop stick. I used super small grosgrain ribbon and tied them into tiny bows- they are attached to the stick with a glue gun.
As for the actual invitation part, since I'm completely Photoshop challenged, I had to use Word, which is a total PITA. If you know how to use Photoshop, I think it would be much easier. I used WordArt Style 37 to create the circular dotted border- you just type periods instead of words then adjust the size and color to your specifications. You then click within the circular border to insert text.
To line the envelopes, I traced the flap of the envelope onto a piece of paper then went in about a 1/2 inch on each side and made new lines before cutting out the template. You can decide how long you want the lining (like all the way to the bottom of the envelope). I then glued the lining into the envelope.
It was actually easier than the cupcake toppers (I almost started crying making those), which I'll post about after the party!

Cute idea!!!
ReplyDeleteI got the idea from Tomkat on Etsy!
ReplyDelete